Checking aplikasi mana yang sedang menggunakan port
sudo lsof -i -P -n | grep LISTEN | grep 9200
sudo lsof -i -P -n | grep LISTEN | grep 9200
In simple terms, websockets are an upgrade to traditional HTTP.
Websockets are mostly used at places where real time updates are necessary. For example:
Function chunk dan cursor ini digunakan untuk get data besar, untuk meminimalkan penggunakan memory ram
Perbandingan performance :
We have a comparison: chunk() vs cursor()
10,000 records:
+-------------+-----------+------------+
|             | Time(sec) | Memory(MB) |
+-------------+-----------+------------+
| get()       |      0.17 |         22 |
| chunk(100)  |      0.38 |         10 |
| chunk(1000) |      0.17 |         12 |
| cursor()    |      0.16 |         14 |
+-------------+-----------+------------+
100,000 records:
+--------------+------------+------------+
|              | Time(sec)  | Memory(MB) |
+--------------+------------+------------+
| get()        |        0.8 |     132    |
| chunk(100)   |       19.9 |      10    |
| chunk(1000)  |        2.3 |      12    |
| chunk(10000) |        1.1 |      34    |
| cursor()     |        0.5 |      45    |
+--------------+------------+------------+
Secara kesimpulan seperti ini :
Therefore, when processing a large amount of data, it seems better to use cursor () when speed is prioritized, and chunk () when memory usage does not exceed a certain value.
https://stackoverflow.com/questions/45464676/what-is-the-difference-between-laravel-cursor-and-laravel-chunk-method
https://qiita-com.translate.goog/ryo511/items/ebcd1c1b2ad5addc5c9d?_x_tr_sl=auto&_x_tr_tl=en&_x_tr_hl=en&_x_tr_pto=nui
Over-fetching is fetching too much data, meaning there is data in the response you don’t use.
Under-fetching is not having enough data with a call to an endpoint, forcing you to call a second endpoint.
https://stackoverflow.com/questions/44564905/what-is-over-fetching-or-under-fetching
Install GitLab runner with homebrew
https://docs.gitlab.com/runner/install/osx.html#homebrew-installation-alternative
To install GitLab Runner using Homebrew:
brew install gitlab-runnerbrew services start gitlab-runnerGitLab Runner is installed and running.
Add a credential to /Users/muhyusuf/.docker/config.json
untuk bisa akses private registry
{
“auths”: {
“registry.gitlab.com”: {
“username”: “iambbb”,
“password” : “password”
}
},
“credsStore”: “desktop”,
“experimental”: “disabled”,
“stackOrchestrator”: “swarm”,
“currentContext”: “default”
}
running gitlab runner dengan stage pilihan
sudo GitLab-runner exec docker unit_test
https://www.freecodecamp.org/news/the-docker-handbook/#how-to-containerize-a-javascript-application
Backend development involves building and maintaining the server-side of a web application. It involves a wide range of skills and technologies, including programming languages, databases, data structures, design patterns, and deployment strategies.
Here is a list of some common topics that may be included in a backend curriculum:
Here a more:
Golang
Concurency
Data structure
Design pattern
Database
Api
Scalling
Kubernetes
Deployment
DevOps
Security
PHP is a popular programming language used by many websites and web applications. It is important to keep track of the different versions of PHP as they can affect the compatibility of your code and the functionality of your website. In this article, we will discuss how to manage PHP versioning on a Macbook.
One option for managing PHP versioning on a Macbook is to use the ASDF (Another Version Manager) tool. ASDF allows you to easily switch between different versions of PHP, as well as other languages such as Ruby and Python. To install ASDF, follow the instructions on the ASDF website or refer to the tutorial by Tim Nash.
Another option is to use the PHPBrew tool, which allows you to install and manage multiple versions of PHP on your Macbook. To install PHPBrew, follow the instructions on the PHPBrew website or refer to the tutorial by GetGrav.
Once you have installed either ASDF or PHPBrew, you can easily switch between different versions of PHP by using the appropriate command. For example, with ASDF, you can use the command “asdf global PHP [version]” to switch to a specific version of PHP. With PHPBrew, you can use the command “phpbrew switch [version]” to switch to a specific version of PHP.
It is important to note that you may need to update your Apache configuration in order to use a different version of PHP. This can be done by modifying the “LoadModule” and “AddType” lines in the Apache configuration file. Refer to the Apache documentation or a tutorial such as the one by GetGrav for more information on this process.
In summary, managing PHP versioning on a Macbook can be easily done using tools such as ASDF or PHPBrew. These tools allow you to easily switch between different versions of PHP, ensuring that your code is compatible and your website is functioning properly. Be sure to also update your Apache configuration if necessary in order to use a different version of PHP.
di folder laradock/certbot/letsencrypt
sudo mkcert -installsudo mkcert dev.jepara.com
edit docker-compose.yml
nginx:build:context: ./nginxargs:- PHP_UPSTREAM_CONTAINER=${NGINX_PHP_UPSTREAM_CONTAINER}- PHP_UPSTREAM_PORT=${NGINX_PHP_UPSTREAM_PORT}- CHANGE_SOURCE=${CHANGE_SOURCE}- http_proxy- https_proxy- no_proxyvolumes:- ${APP_CODE_PATH_HOST}:${APP_CODE_PATH_CONTAINER}${APP_CODE_CONTAINER_FLAG}- ${NGINX_HOST_LOG_PATH}:/var/log/nginx- ${NGINX_SITES_PATH}:/etc/nginx/sites-available- ${NGINX_SSL_PATH}:/etc/nginx/ssl- ./data/certbot/certs/:/var/certs- ./certbot/letsencrypt/:/var/www/letsencrypt
edit jepara.conf at nginx/sites
# For https
    listen 443 ssl;
    #listen [::]:443 ssl ipv6only=on;
    ssl_certificate /var/www/letsencrypt/dev.jepara.com.pem;
    ssl_certificate_key /var/www/letsencrypt/dev.jepara.com-key.pem;
setelah itu bisa restart container nginx
docker-compose restart nginx
docker-compose build nginx
check current value
defaults read -g com.apple.mouse.scaling
increase value
defaults write -g com.apple.mouse.scaling 5.0

Framework NodeJs rasa Laravel
Framework ini bisa terbilang sangat baru, dan dibuat sangat penasaran, karna katanya framework ini sangat mirip dengan framework Laravel
Topik kali ini, kita hanya akan melakukan
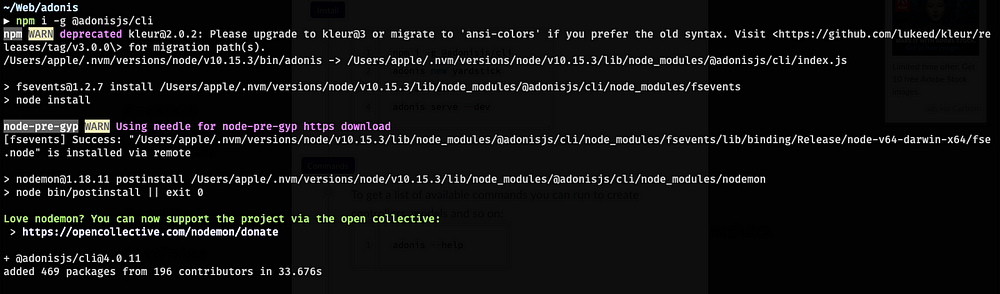
Pertama install dulu AdonisJs cli lewat terminal
npm i -g @adonisjs/cli
kalau sudah berhasil, tinggal bikin applikasi web dari Adonis
adonis new name_application

lalu masuk ke directorynya
dan jalankan applikasi web kita dengan command adonis server — dev
cd name_application
adonis serve --dev

sekarang tinggal buka browser dan akses localhost atau 127.0.0.1 dengan port 3333
http://localhost:3333

Viola, kita sudah berhasil membuat applikasi pertama dengan adonis dan menjalankannya di browser
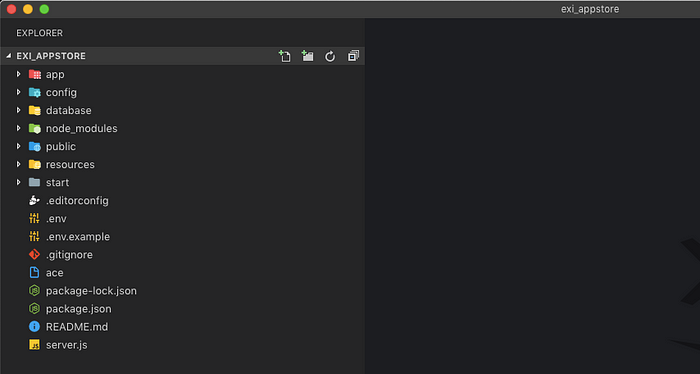
dari struktur foldernya bisa dikatakan sangat mirip dengan laravel
feel like home, buat developer laravel mau mencoba framework NodeJs
2 pilihan yang bisa diinstall:
basicadvance
Download from Composer
create-project yiisoft/yii2-app-basic basic 2.0.13
Download file
http://www.yiiframework.com/download/
insert a secret key cookieValidationKey (if it is empty)
bisa ditemukan di
config/web.php
Kalau sudah
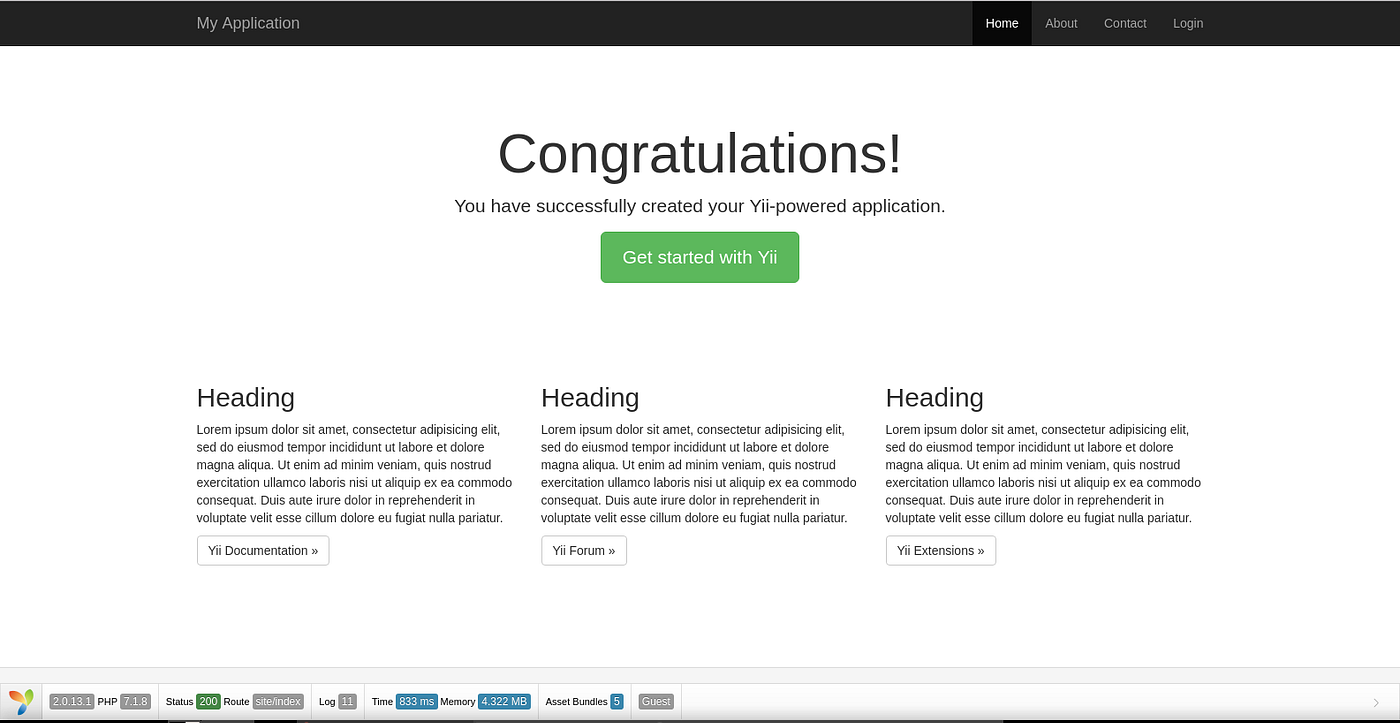
Akses ke alamat berikut
localhost/mygreatapp/web
— PretyURL
Meta Tag
$this->title = 'Hello View - Demo Meta Tags';
$this->registerMetaTag(['name' => 'keywords', 'content' => 'yii, framework, php']);
$this->registerMetaTag(['name' => 'description', 'content' => 'Belajar yii framework. Dipersembahkan oleh Codepolitan.
Load View
return $this->render(‘greeting’, [‘name’=>$name]);
Prety URL
‘urlManager’ => [
 ‘enablePrettyUrl’ => true,
 ‘showScriptName’ => true,
 ‘enableStrictParsing’ => false,
 ‘rules’ => [
 ],
Map Controller
'controllerMap' => [
        'demo' => 'app\controllers\HelloController'
    ],
Redirect
return $this->redirect('/url');
Enable Rewrite Apache
https://askubuntu.com/questions/48362/how-to-enable-mod-rewrite-in-apache
a2enmod rewrite
CKEDITOR YII
http://www.yiiframework.com/extension/yii2-ckeditor-widget/#hh0
https://stackoverflow.com/questions/30979305/how-to-create-ckeditor-in-yii2
composer require 2amigos/yii2-ckeditor-widget
brew install imagemagick
magick mogrify -resize 30% *
References
Install dengan menggunakan composer secara global
composer global require laravel/envoy
Menambahkan alias composer dari variabel $PATH
Tambahkan di zsh profile ~/.zshrc
export PATH="$HOME/.composer/vendor/bin:$PATH"
Sumber:
– https://stackoverflow.com/questions/36669362/problems-in-installing-laravel-envoy-with-composer
sekarang penggunakan polymorph laravel, untuk type pasti berbentuk string
untuk indexing string emang mengurangi performance database itu sendiri
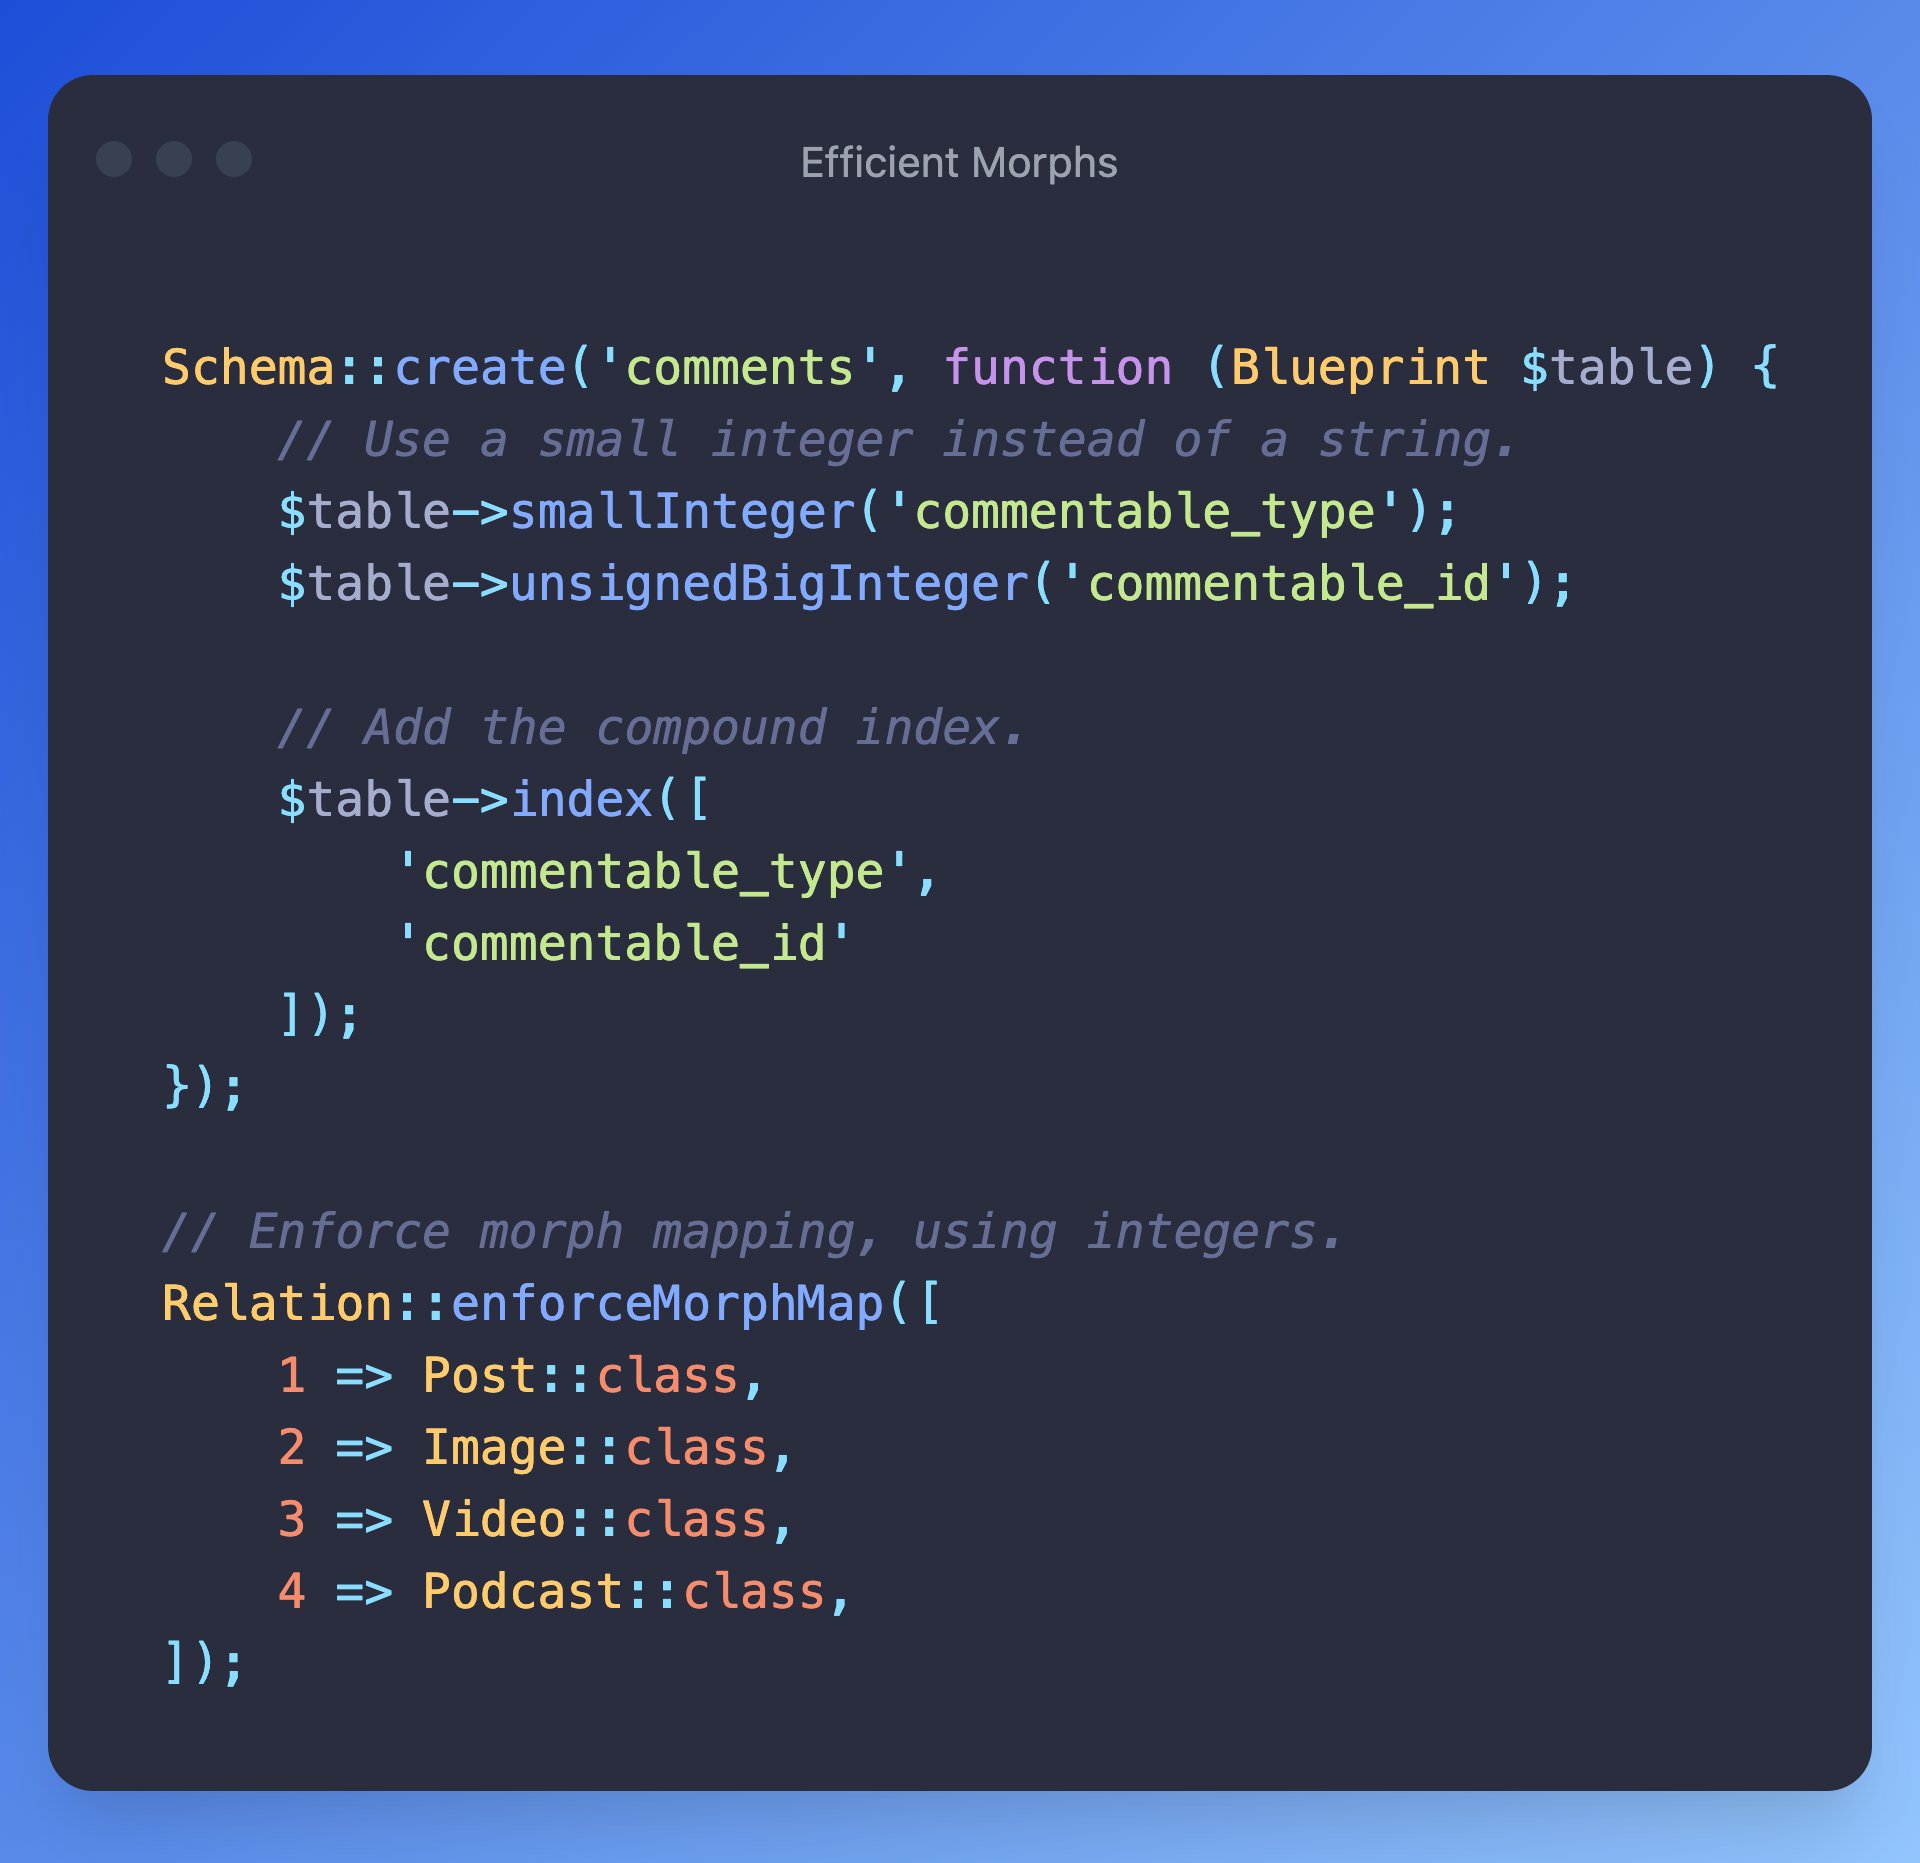
seperti sumber dari twitter berikut
When using Laravel morphs, you can eek out some extra performance by using small integers instead of strings for your morph types.
Smaller, faster indexes for the database to manage!
Especially useful for tables like comments or audits, which can be many millions of rows. pic.twitter.com/vZZluD5dod
— Aaron Francis (@aarondfrancis) November 3, 2021
Envoy adalah alat yang dikembangkan oleh Laravel yang memungkinkan Anda menjalankan perintah server langsung dari aplikasi Laravel Anda. Ini sangat berguna ketika Anda ingin menjalankan tugas-tugas seperti deployment atau migrasi database tanpa harus menggunakan ssh ke server.
Untuk menggunakan Envoy, Anda harus menambahkan file bernama Envoy.blade.php
Berikut adalah contoh konfigurasi Envoy untuk proyek Laravel:
@servers(['web' => '[email protected]'])

@task('deploy', ['on' => 'web'])
cd /var/www/my-project
git pull origin master
php artisan migrate
@endtask

@task('rollback', ['on' => 'web'])
cd /var/www/my-project
git revert HEAD
php artisan migrate:rollback
@endtask
Di sini, kita telah menentukan server dengan nama web yang diakses melalui user user dan IP 192.168.10.10. Kemudian, kita telah mendefinisikan dua tugas, yaitu deploy dan rollback. Tugas deploy akan menjalankan perintah git pull untuk mengambil revisi terbaru dari repository, kemudian menjalankan perintah php artisan migrate untuk menjalankan migrasi database. Tugas rollback akan menjalankan perintah git revert untuk mengembalikan revisi sebelumnya, kemudian menjalankan perintah php artisan migrate:rollback untuk mengembalikan database ke revisi sebelumnya.
Untuk menjalankan tugas ini, Anda hanya perlu menjalankan perintah envoy run deploy atau envoy run rollback di terminal. Envoy akan mengakses server yang telah ditentukan dan menjalankan perintah-perintah yang telah ditentukan di file Envoy.blade.php.
Dengan menggunakan Envoy, Anda dapat dengan mudah menjalankan perintah server dari aplikasi Laravel Anda, sehingga proses deployment atau migrasi database menjadi lebih mudah.
Berikut contoh konfigurasi Envoy yang lain:
@setup
$__container->servers([
    'staging' => 'user@ip_address',
    'production' => ['user@ip_address -p 8288'],
]);
@endsetup

@setup
    $repository = '[email protected]:username/awesome_project_ever.git';
    $releases_dir = '/var/www/html/app/awesome_project_ever/releases';
    $app_dir = '/var/www/html/app/awesome_project_ever';
    $release = date('YmdHis');
    $new_release_dir = $releases_dir .'/'. $release;
    $branch = isset($branch) ? $branch : "master";
    if($server == "staging"){
        $branch = "staging";
    }
@endsetup

@story('deploy',['on' => $server,'parallel' => true])
    clone_repository
    run_composer
    update_symlinks
    deployment_migrate
    deployment_cache
    clean_old_releases
    set_permission_folder
    say_finished
@endstory

@task('clone_repository')
    echo 'Cloning repository'
    [ -d {{ $releases_dir }} ] || mkdir {{ $releases_dir }}
    git clone --depth 1 {{ $repository }} --branch={{ $branch }} {{ $new_release_dir }}
@endtask

@task('run_composer')
    echo "Starting deployment ({{ $release }})"
    cd {{ $new_release_dir }}
    composer install --prefer-dist --no-scripts -q -o
@endtask

@task('update_symlinks')
    echo "Linking storage directory"
    cp -R {{ $new_release_dir }}/storage {{ $app_dir }}
    rm -rf {{ $new_release_dir }}/storage
    ln -nfs {{ $app_dir }}/storage {{ $new_release_dir }}/storage

    cp -R {{ $new_release_dir }}/public {{ $app_dir }}
    rm -rf {{ $new_release_dir }}/public/images
    ln -nfs {{ $app_dir }}/public/images {{ $new_release_dir }}/public/images

    echo 'Linking .env file'
    ln -nfs {{ $app_dir }}/.env {{ $new_release_dir }}/.env

    echo 'Linking current release'
    ln -nfs {{ $new_release_dir }} {{ $app_dir }}/current
@endtask

@task('deployment_migrate')
    echo "Migrating..."
    php {{ $new_release_dir }}/artisan migrate --force --no-interaction
@endtask

@task('deployment_cache')
    echo "clearing cache..."
    php {{ $new_release_dir }}/artisan cache:clear --quiet
    php {{ $new_release_dir }}/artisan config:clear
    echo "Cache cleared"
@endtask

@task('clean_old_releases')
  echo "Cleaning old releases ..."
  rm -rf `ls -dt {{ $app_dir }}/releases/* | tail -n +4`
@endtask

@task('set_permission_folder')
    echo "Set permission folder"
    cd {{ $app_dir }}
    sudo chgrp -R www-data storage public
    sudo chmod -R ug+rwx storage public

    cd {{ $app_dir }}/current
    sudo chgrp -R www-data bootstrap/cache
    sudo chmod -R ug+rwx bootstrap/cache
@endtask


@finished
    @slack('https://hooks.slack.com/services/(Kode)', '#gitlab-activities', "Deployed {$server}")
@endfinished

@task('say_finished')
    echo "Finished..."
@endtask


{{--

create .env
create folder storage
create folder public/images

How to run :
if staging
envoy run deploy --server=staging

if production
envoy run deploy --server=production

--}}
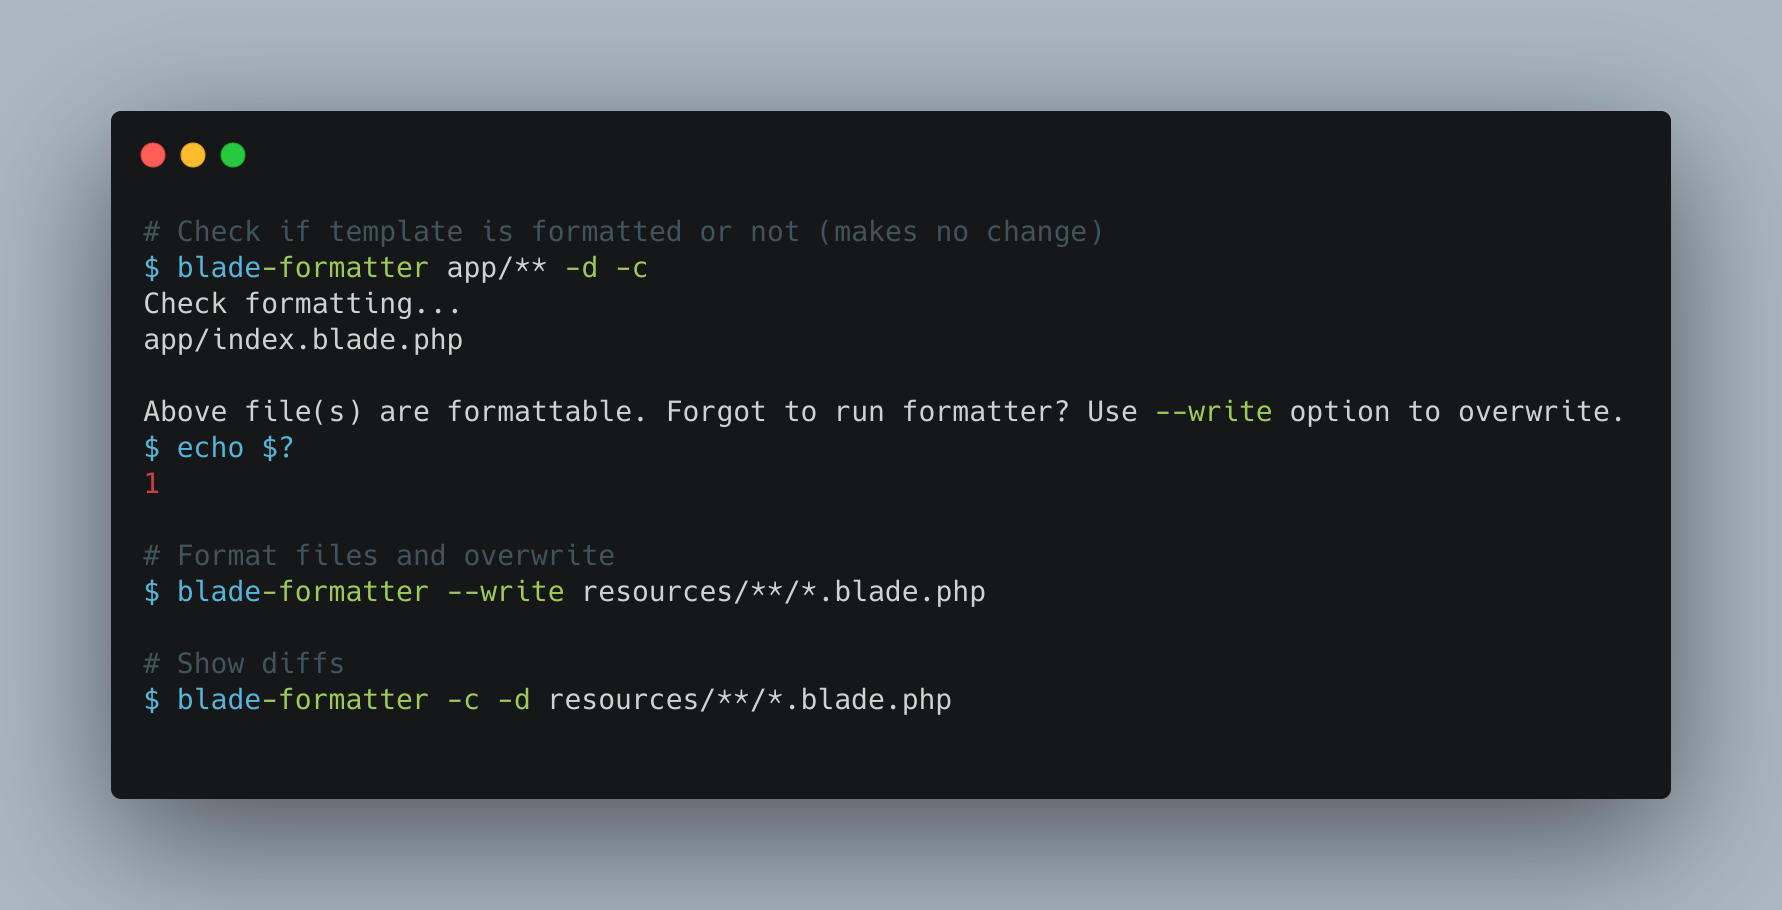
Blade-formatter adalah alat yang digunakan untuk memformat template Blade, templating yang digunakan dalam framework PHP Laravel. Ini dirancang untuk membantu supaya para developer menjaga gaya yang konsisten di template Blade mereka.
Untuk menggunakan blade-formatter, Anda harus menginstallnya melalui composer, package manager untuk PHP. Setelah terinstall, Anda dapat menjalankannya dari command line dengan menentukan path ke template Blade Anda.
Secara keseluruhan, blade-formatter adalah alat yang berharga bagi setiap developer yang bekerja dengan template Blade. Ini membantu untuk memastikan bahwa template Anda terformat dengan baik dan bebas dari kesalahan sintaksis, menghemat waktu dan usaha dalam jangka panjang.
Check the package https://github.com/shufo/blade-formatter?utm=github
Dalam pengembangan aplikasi,terkadang kita ingin debugging semua traffic network di aplikasi mobile. Kita dapat melihat semua itu dengan melakukan intercept pada traffic tersebut.
Steps
./adb connect localhost:21503Jika berhasil, kembali ke HTTP Toolkit. Terhubunglah ke Memu dari HTTP Toolkit dengan menggunakan menu android device yang terhubung melalui ADB.
Referensi :